You need Codex, GitHub, and Cloudflare. A domain is optional and can wait until the website is working.
Confirm you can access Codex.
Sign in to GitHub in the browser.
Sign in to Cloudflare in the browser.
Keep passwords and security codes private.
Screenshot 01Accounts and tools readyWe will capture this together when the browser session is ready.
The three services used throughout the guide.
Step 0210 minutes
Describe the website you want
Give Codex a clear name, purpose, audience, sections, style, privacy choice, and preferred web address.
Starter request
Use $reusable-website-workflow to build a website for [purpose]. Project details: [add your name, audience, sections, style, privacy choice, and preferred web address].
Screenshot 02A complete project requestThe finished screenshot will show the prompt and the first response.
A specific request produces a much better first version.
Step 0310 minutes
Create the project files
Codex creates a small, understandable structure. Website files live in public; project instructions stay outside it.
Cloudflare publishes only the public folder, while planning and operating notes remain out of the public website.
Screenshot 03The finished folder structureCaptured directly from the project when all files exist.
A small structure is easier to maintain.
Step 045 minutes
Open the first local preview
Preview the website before publishing. Check that it looks like the project you requested, rather than an untouched template.
Start the local preview.
Open the address Codex provides.
Keep the preview open while the site is refined.
The local preview lets you review changes before publishing.
Step 0510 minutes
Check the important details
Review the site at desktop and mobile sizes before any files are published.
Headings are clear
Text is readable
Navigation works
Buttons work
Mobile layout fits
Keyboard focus is visible
Images have descriptions
No private information appears
Desktop
Mobile
Responsive design should work without zooming or sideways scrolling.
Step 0610 minutes
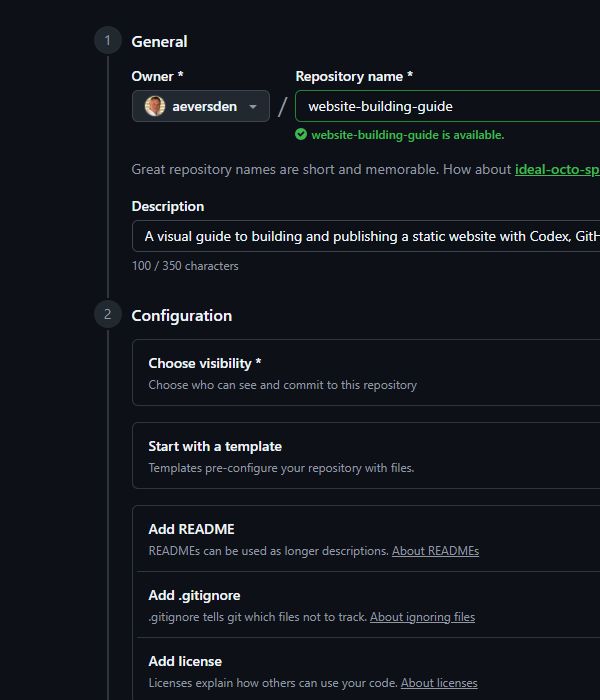
Create a private GitHub repository
The repository becomes the source of truth for the website.
Choose New repository in GitHub.
Use lowercase words separated by hyphens.
Select Private unless the source should be public.
Create the empty repository.
Use the same project name locally, on GitHub, and in Cloudflare.
Step 075 minutes
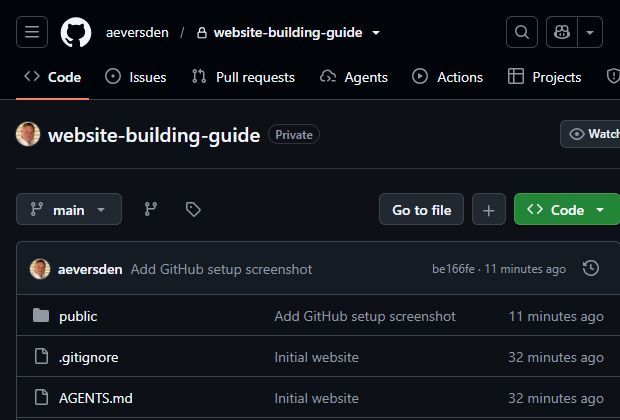
Review and publish the source
Review every changed file first. Commit only after approval, then separately approve pushing the commit to GitHub.
Branchmain
First commitInitial website
VisibilityPrivate
Two deliberate approvals
Approval to commit is not approval to push. This keeps you in control of what is recorded and what leaves the computer.
GitHub now stores the reviewed source.
Step 0810 minutes
Connect GitHub to Cloudflare Pages
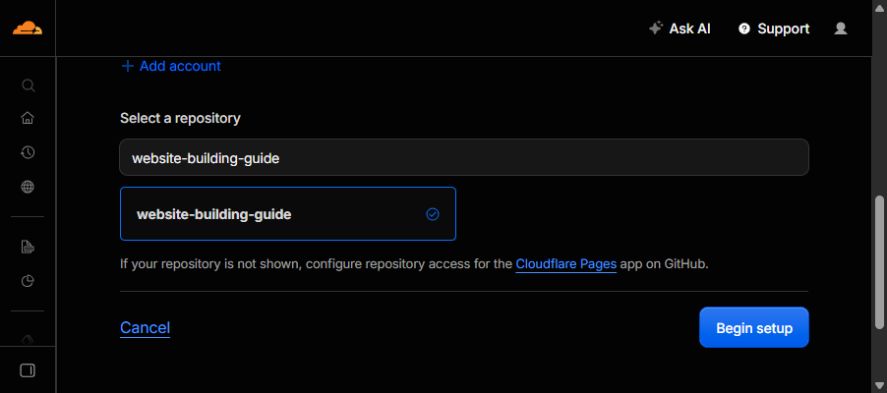
In Cloudflare, create a Pages application, connect GitHub, and select only the repository for this website.
Open Workers & Pages.
Create an application and choose Pages.
Import an existing Git repository.
Select the project repository.
Cloudflare watches the selected repository for approved updates.
Step 095 minutes
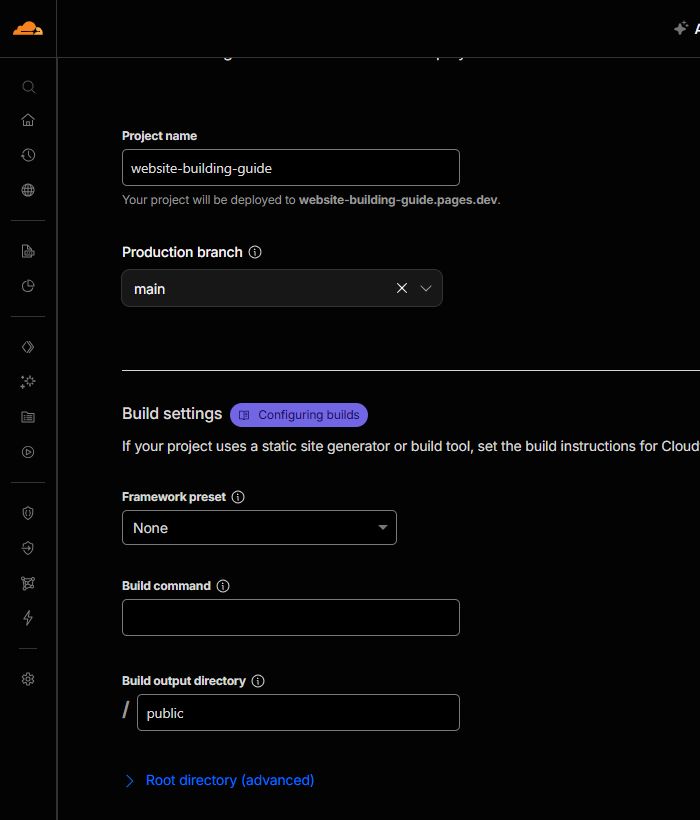
Use the correct deployment settings
This project has no framework and no build step. Enter these values exactly.
Production branchmain
Framework presetNone
Build commandLeave blank
Build output directorypublic
Root directoryDefault
The output directory is public for this project structure.
Step 1010 minutes
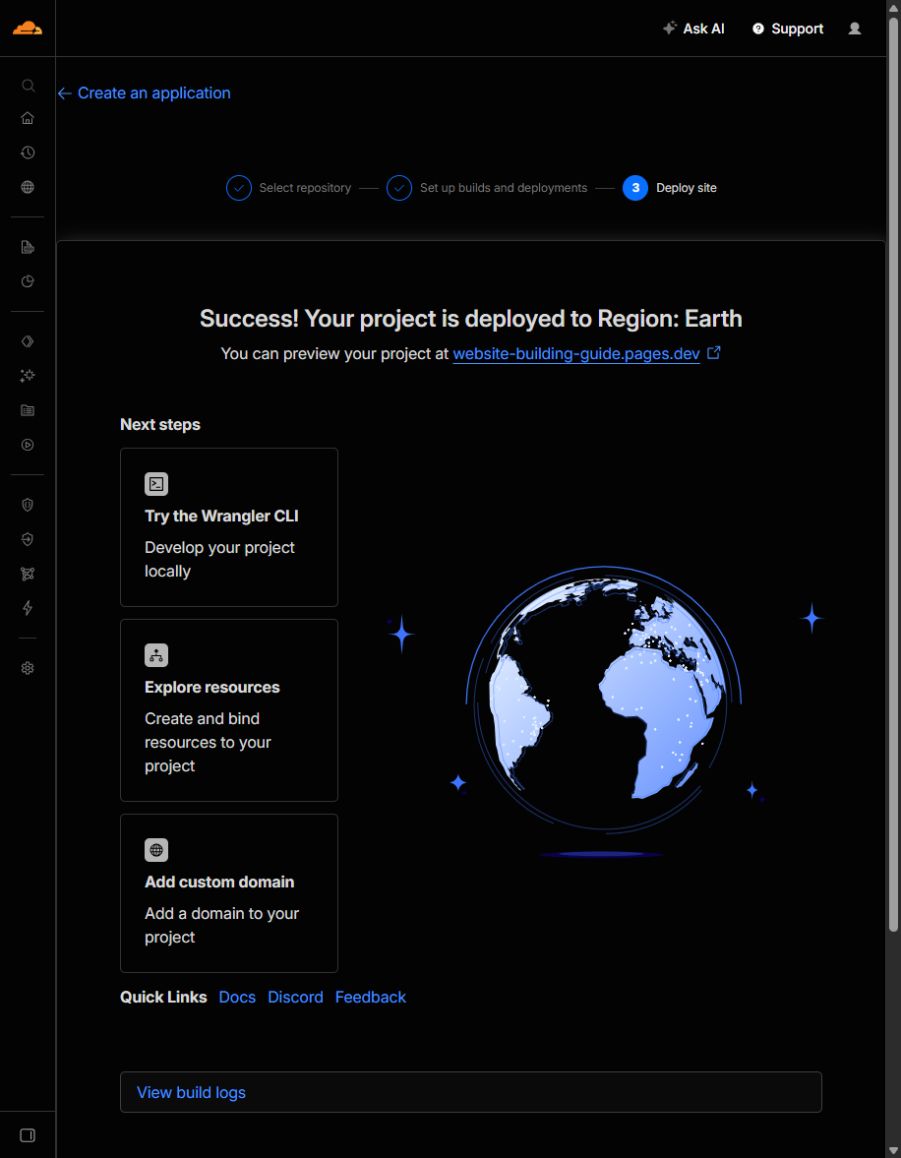
Prove automatic publishing works
Make one small, visible change and follow it all the way to the live website.
Request change→Review→Commit→Push→Deploy
Future approved pushes to main follow this same route.
Step 11Optional · 10 minutes
Add your own web address
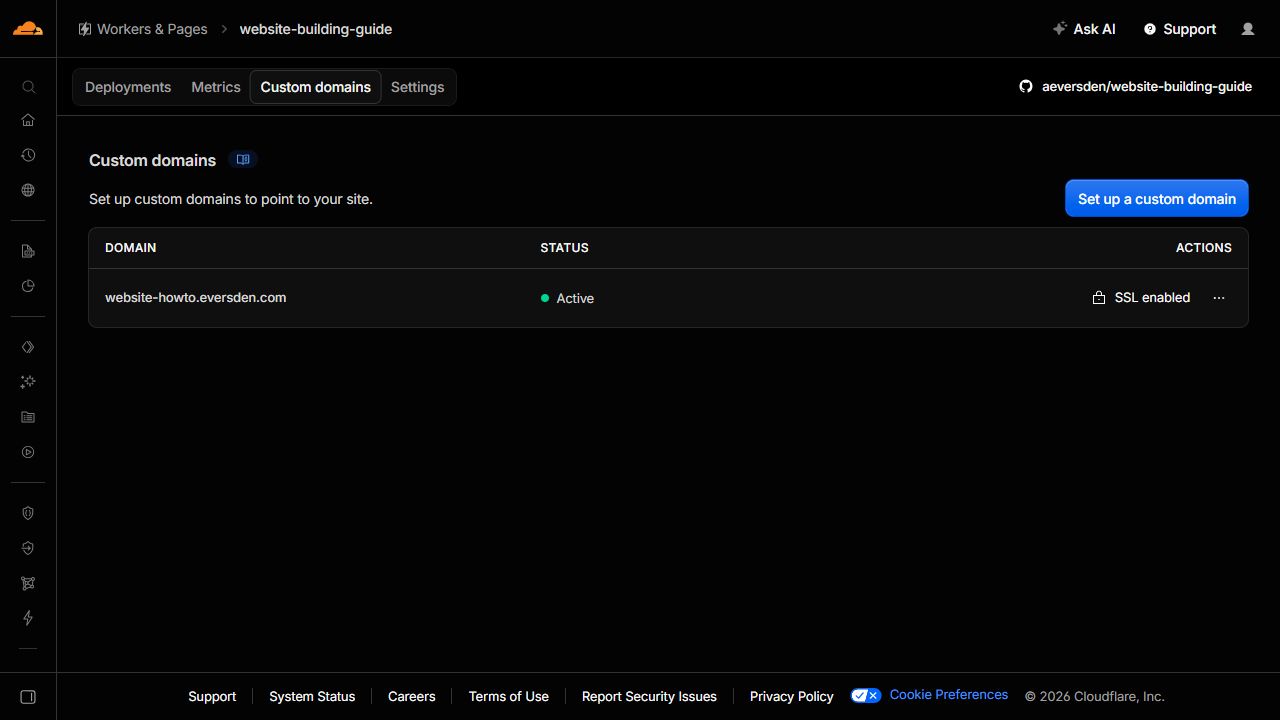
Once the temporary pages.dev address works, add a memorable custom hostname.
Live addresswebsite-howto.eversden.com
Open the Pages project's custom-domain settings.
Enter the hostname.
Use the exact DNS record Cloudflare requests.
Wait for verification, then test HTTPS.
Never guess DNS values; use the exact target Cloudflare displays.
Step 12Optional · 15 minutes
Protect a private website
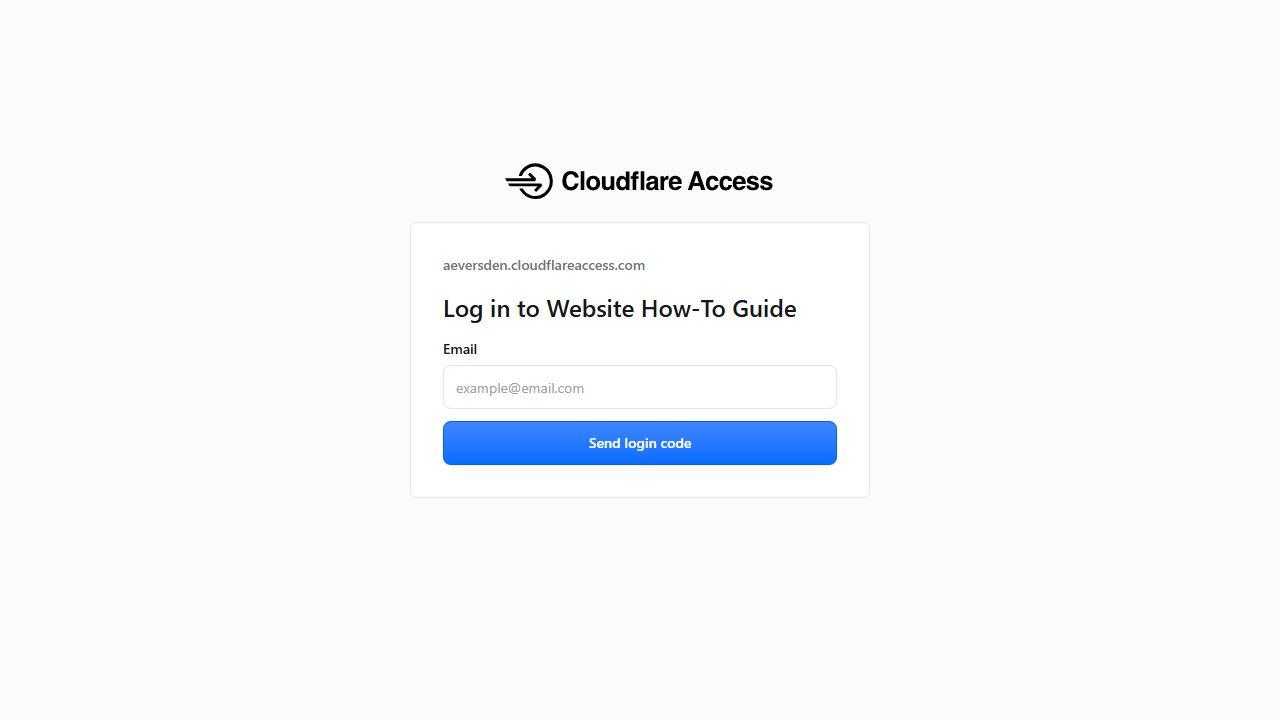
Cloudflare Access can require an approved email identity before the custom hostname opens.
Open Cloudflare Zero Trust and Access controls.
Add a self-hosted application.
Enter the custom hostname.
Create an Allow policy for approved people.
Test in a private browser window.
Protect the custom hostname
Do not rely only on the public pages.dev address when the information must remain private.
A private window confirms the policy works for a new visitor.
Step 1310 minutes
Use the workflow from anywhere
Keep one private online master copy in GitHub, install the Codex skill on each computer, and create a private ChatGPT version for browser and mobile access.
Start your next website
Use $reusable-website-workflow to build a website for [purpose].
Sign in with the same ChatGPT account that owns the private GPT.
Start with the conversation button or describe the website you want.
If recreating it in another account, copy chatgpt/INSTRUCTIONS.md into the Instructions field and upload reusable-website-workflow/references/workflow.md as knowledge.
Keep sharing set to Only me.
What the skill remembers
Plain HTML, CSS, and JavaScript by default
Desktop and mobile testing
Browser-captured screenshots
Private GitHub repository workflow
Separate commit and push approvals
Cloudflare Pages deployment
Optional custom domain
Optional email-code Access
Privacy and sensitive-data safeguards
GitHub remains the source of truth
Three useful copies
GitHub is the online source of truth; %USERPROFILE%\.codex\skills\reusable-website-workflow\SKILL.md is this computer's installed Codex copy; the private ChatGPT version provides account-accessible use on the web and mobile.
Before you finish
One last calm check.
Open the live site on a computer and phone. Test navigation, links, images, your custom address, and private access if enabled.
When every stage is complete, you have more than a website—you have a repeatable publishing system.